Checking a DC layout's polarity, feeders and blocks before you build
If red meets black anywhere on the plan, the track will short there on the bench.
The train runs fine for three laps. Then you send it the other way through the reverse loop. It reaches the far joiner, the power pack's breaker trips, and everything stops. You lift the loco off, look at the joiners and start wondering which piece you got wrong.
Most DC layouts that won't run go wrong in the same few places. Usually you find out when the train stops, and by then the track is already down. The Layout Designer in modelrailsim checks those places while you draw, and then you can drive the same plan in the simulator before you buy a single piece.
Where DC layouts go wrong
The list is short:
- A reverse loop. The track turns back on itself, so one rail ends up meeting the other. Unless the loop is isolated and its polarity switched, it's a dead short.
- A block with no feeder. A siding goes dead the moment you add insulated joiners and forget to feed what's between them.
- A gap. Two pieces that look joined on paper but don't quite meet.
- A train bridging two blocks that are set to opposite polarity.
- A grade that's too steep for the train you meant to run up it.
None of these is hard to fix on paper. They're hard to fix after the track is ballasted.
Polarity you can see
In the Designer, two-rail track shows its polarity as you lay it: one rail red, one black. Lay a loop off a turnout and bring it back to the main line. Where the loop closes, you'll see red rail running into black. That's your short, on the plan, before you've bought a thing.
The rule is simple. If red meets black anywhere on the plan, the track will short there on the bench.
The Designer doesn't make you hunt for it, either. Problems are listed as you go, each one pointing at the piece: gaps, clashes, a reverse loop that will short, track off the board, steep grades.
Blocks, feeders and joiners
When you start a layout, choose DC under Control. You can change it later in the layout's settings. On a DC layout, the track between two insulated joiners is a block, and every block gets its own feed.
Most DC layouts want a block for each siding and spur, so a loco can sit there dead while another one runs. Make blocks at the turnouts does that in one step. It puts insulated joiners on both legs of every turnout, so each siding, spur and stretch of main line can be switched on its own.
You can also place the parts yourself, which is how most of us learned to think about wiring:
- Feeders, insulated joiners and reversers, dragged to where you want them.
- Feeders made with rail joiners or soldered wires.
- Power routing turnouts, set one by one.
Whatever you leave undone is worked out when you save: every section fed, every reversing section isolated.
The Wiring card
The card is called Wiring (DCC & DC). On a DC layout it offers a power pack for each cab and a block toggle for each block. You wire each cab to the toggles, then each toggle to a feeder in its block, the same way you'd run wire under the benchwork.
Then the DC wiring check looks it over. It flags:
- a toggle with no cab or no feed,
- two toggles feeding one block,
- blocks that no toggle feeds.
One honest limit. No plan can tell you that a rail joiner has worked loose under the ballast, or that a joiner on the bench isn't gripping. What the plan can do is make sure every block has its own feeder, so you aren't relying on joiners to carry power from one end of the layout to the other. That's good practice anyway.
The plan is the parts list
Every piece is a real part from the maker's catalog, with its part number and the maker's own codes (Kato's R315 curve stays R315). The parts list counts the packs to buy. So the plan you checked is the plan you buy, not a sketch you'll have to rework at the hobby shop counter.
Grades, before you cut anything
Give a run of track a height, or set it as a ramp, and the Designer works out the grade. Over 2.5% you get a note. Over 3%, a warning.
The Pulling Power card tells you what that means for your trains. For 40 ft cars, it reckons an HO GP38-2 takes about 39 cars on the level and 17 up a 2% grade. Each ramp on the plan says the same in plain words beside it, in red when your train is too long for it. That's worth knowing before you cut risers.
Drive it on a DC control panel
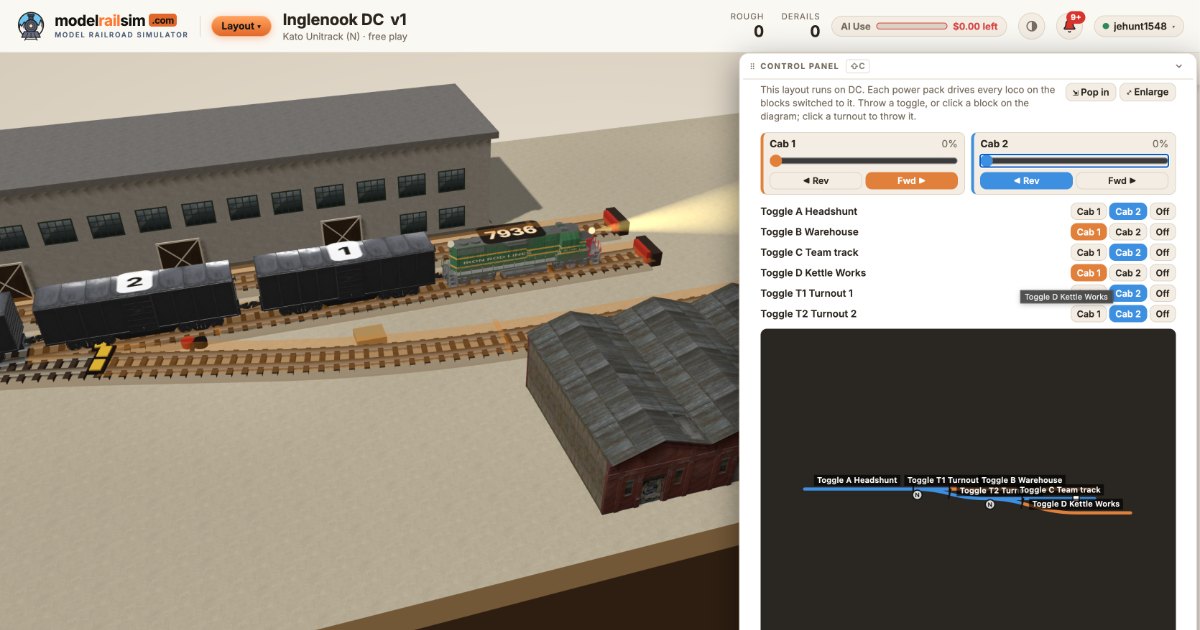
Save, and the design opens in the simulator. A DC layout opens with a Control panel card in place of the Power Cab: two power packs, each with a speed knob and a direction switch, and a diagram of your track. Click a block to switch it to cab A, cab B or off. Click a turnout to throw it. The ⤢ button enlarges the panel so you can work it at a glance.
It behaves like DC, which is the point:
- Every loco on a block runs with that block's pack, all the same way along the track, whichever way they face.
- A loco on a block that's switched off stands dead.
- Two trains run on two cabs.
- A train bridging two blocks at opposite polarity is a short. The packs' breakers trip until you put it right.
- Each reversing section gets its own polarity switch on the panel. Flip it while the train is inside the loop.
Trains ease up to speed and coast, so you get a feel for how a block hands a train from one cab to the next before you've stripped any wire. You don't need a train or a layout of your own to try any of this. It runs in the browser, and building by hand and driving are free.
If you'd rather not fit the loop together piece by piece, the Planner can set a layout to DC, place insulated joiners, and add and wire the power packs and block toggles. It runs on AI Credit; building by hand never does.
Try this tonight
Open the Layout Designer and start a small layout with Control set to DC. Lay an oval with one turnout leading to a reverse loop. Watch where red meets black. Press Make blocks at the turnouts, then add two power packs and a toggle for each block on the Wiring card, and run the DC wiring check until it's clean.
Save and open it in the simulator. Run a train into the loop on cab A, stop it inside, flip the loop's polarity switch, and drive it out. Then do it again without flipping the switch, and watch the breaker trip. Better to learn that one on the screen than on the bench.
New posts by email
A short email when there's a new post. Nothing else, and you can stop any time.
More from the blog
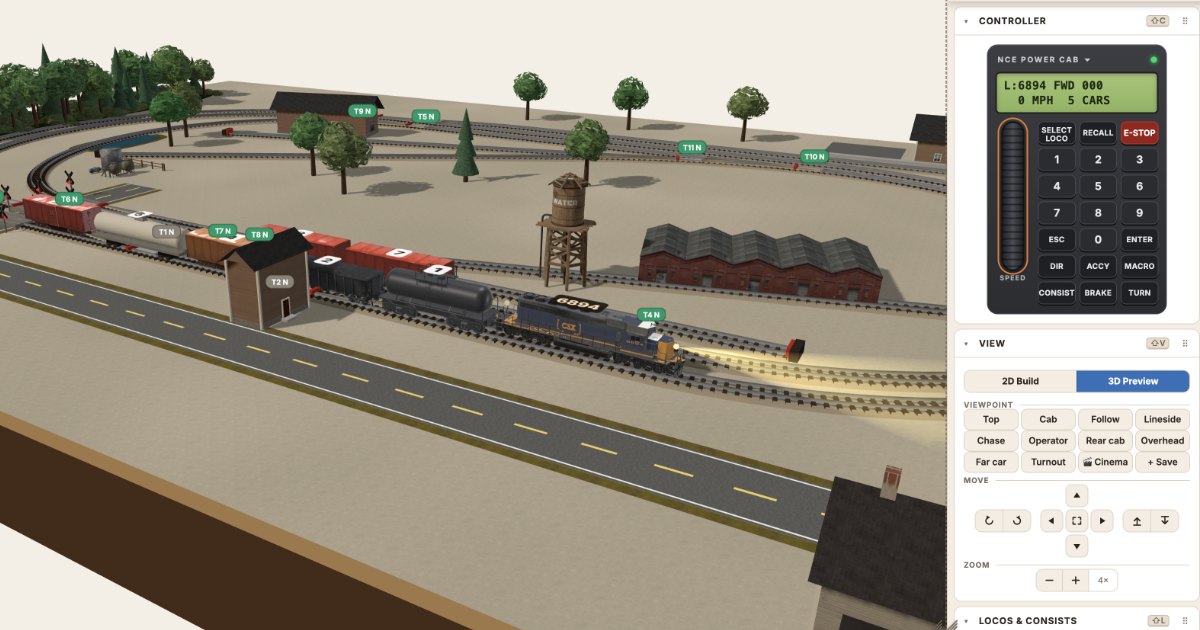
Drive your track plan before you buy the track or the loco
Lay a plan in real track pieces, let the Layout Designer flag the problems, then drive it in the simulator with a throttle before you buy a single box of track.
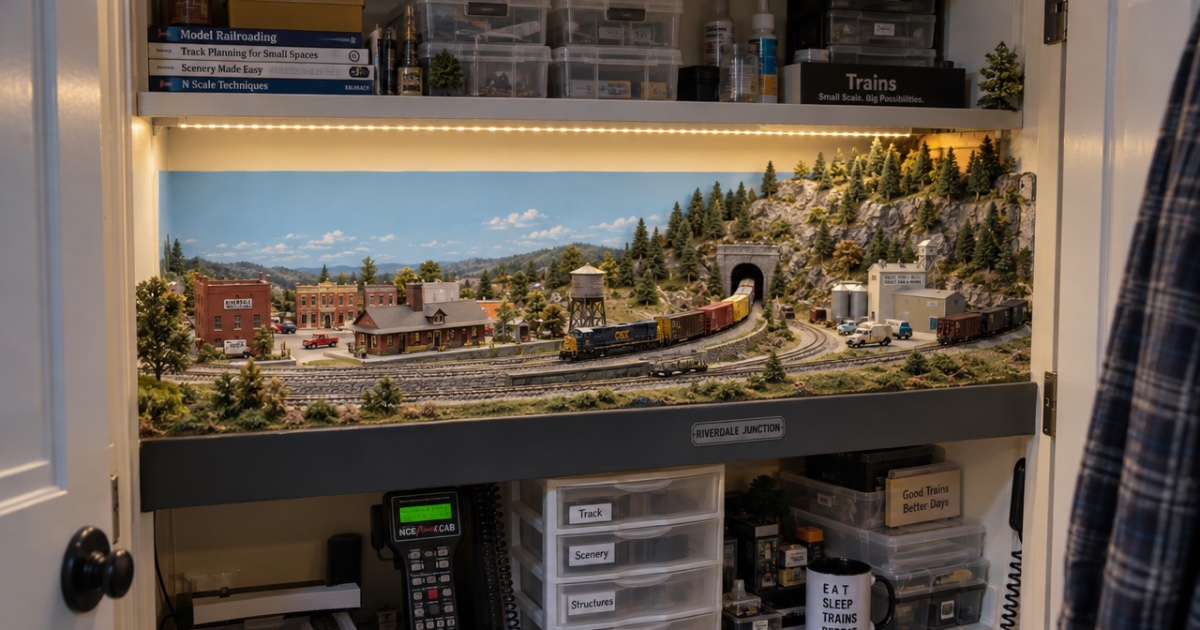
Building a layout in a spare closet: plans that fit
How to fit a model railroad in a spare closet: measuring reach-in and walk-in closets, switching plans that fit, benchwork tips, and checking it before you cut.
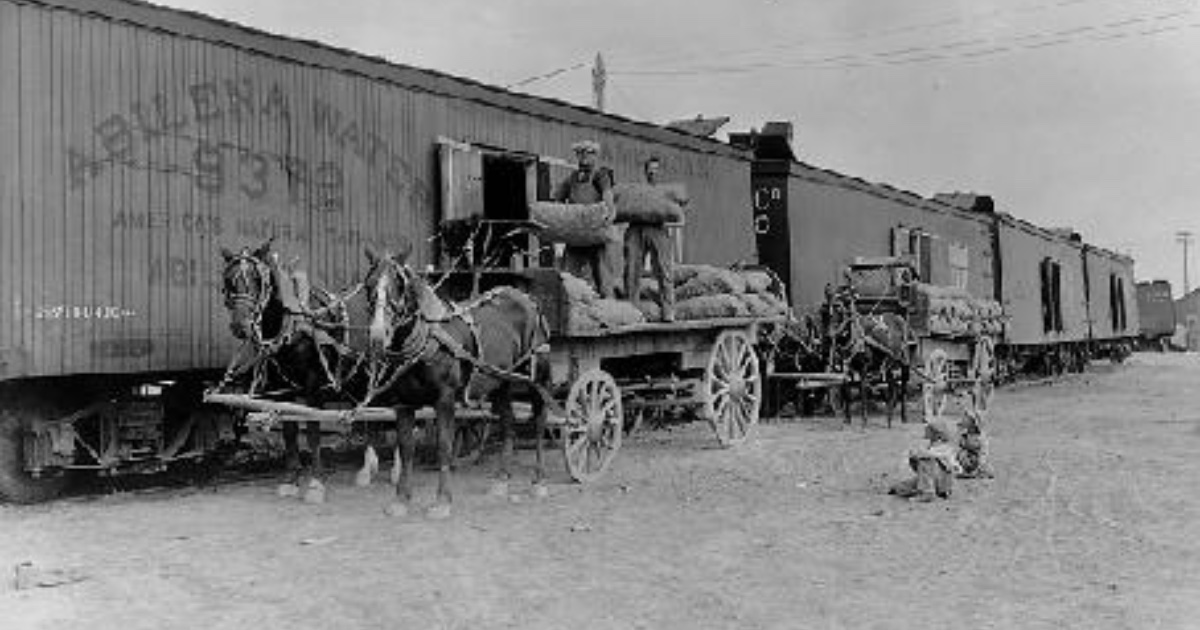
Team tracks: the industry with no building
A team track is a railroad-owned spur where any shipper can load or unload a car. What the prototype built, what went there, and how to model one in inches.